You’ve bought your gas dryer, and you’re wondering: “Can I hook it up myself, or do I need someone who knows how to install a gas dryer properly?”
The short answer is, you need a licensed gas fitter Melbourne homeowners trust. Under AS/NZS 5601.1:2022, only they can legally do the work. But, how?
This guide walks you through every step, so you understand the process and feel confident in the result. Let’s dive in!
Before you look at how to install a gas dryer, the laundry has to pass a basic reality check.
You need a gas supply point. If your laundry has one, your gas fitter must still check the pipe size, isolation valve, appliance position, and whether the existing setup can safely supply the dryer.
No gas point? Then a new gas line or branch line may need to be run to the appliance location. You need a licensed gas fitter to help you with it. This is not a handyman job or DIY.
Next, do you have a standard 230–240V/10A power outlet? Gas dryers still need electricity. The controls, drum motor, and ignition are all electric.
Most plug into a standard 10-amp outlet, but check your appliance manual. If you’re replacing an old electric dryer, the existing power point will often be fine, unless the outlet is damaged or too close to wet areas.
A clear external venting path also matters. A gas dryer must vent to the outside. The venting setup needs to suit your specific appliance and laundry layout.
Short, direct venting is best. Tight corners, long duct runs, and awkward internal laundries can make the job harder. And sometimes the space needs modification before the dryer can be installed safely.
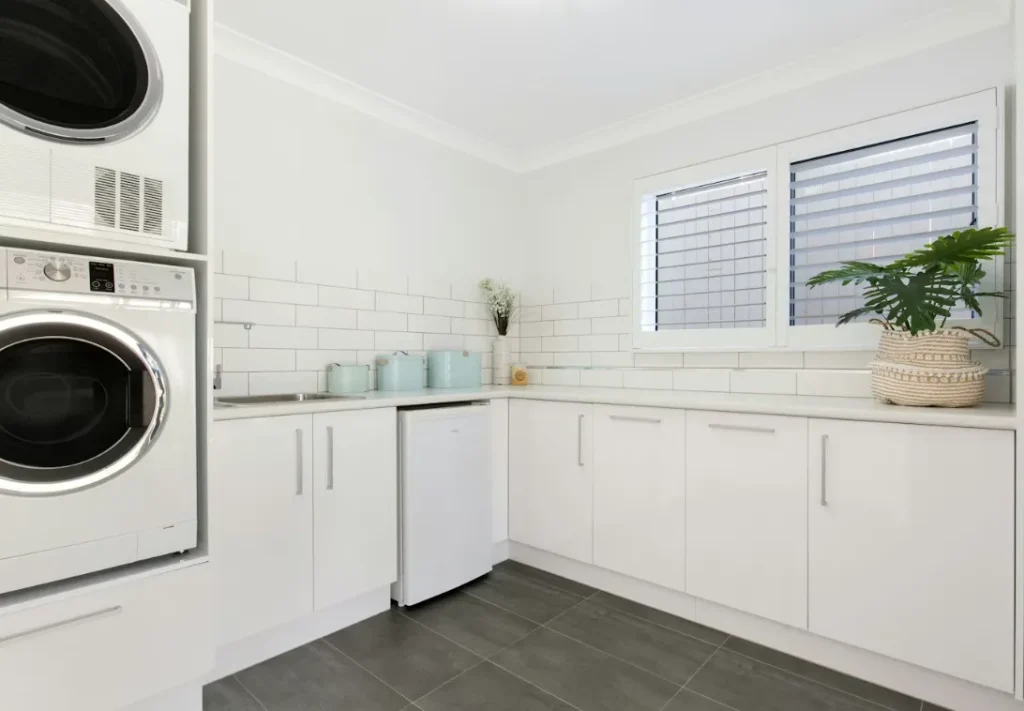
Image: Steven Ungermann on Unsplash
Once your laundry is ready, installation starts. And most steps aren’t something you can do yourself.
This part is yours. You can cut along the box seams with a utility knife. But don’t jab at the cardboard. One careless push can score the cabinet, dent a side panel, or slice through a packed hose.
After that, lift off the outer packaging. Pull out the foam and check the drum before moving near the wall. Manufacturers often pack the manual, levelling feet, fittings, brackets, or gas conversion parts inside.
With a helper, tilt the dryer onto its back and fit the levelling feet. Stand it upright. Move it close to the laundry position but leave the working room behind.
Don’t push it against the wall yet. You still need rear access for the vent, gas connection, isolation valve, leak test, and final checks. And don’t forget to do proper leveling.
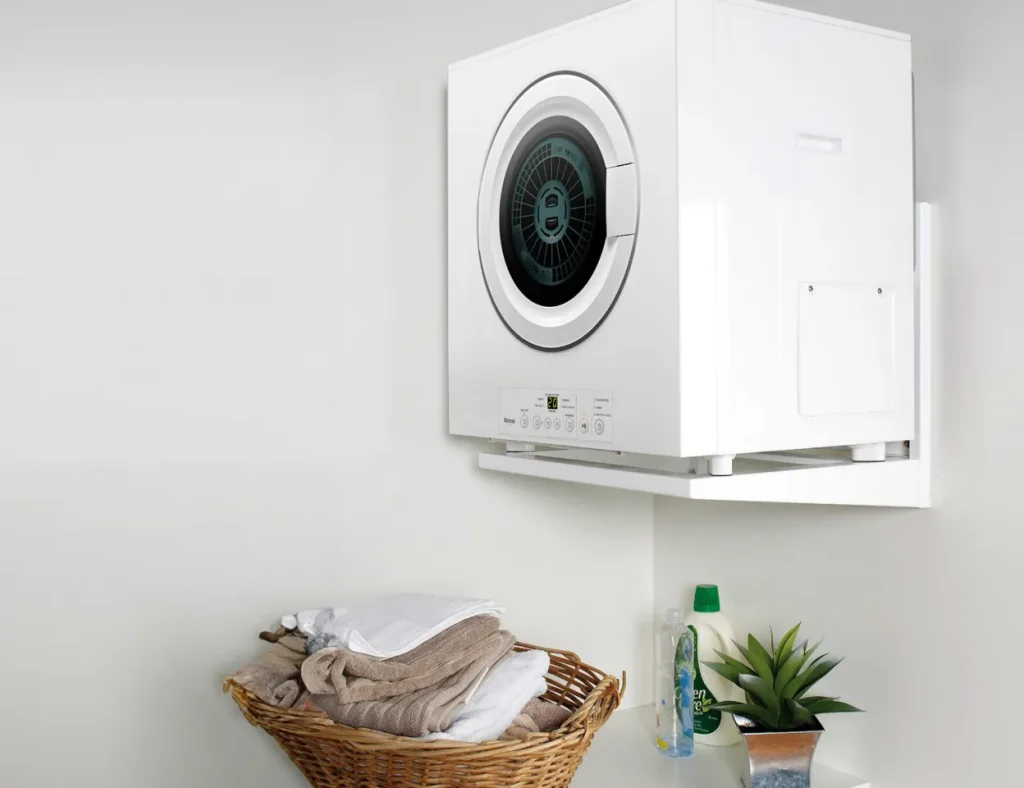
Image: rinnai.com.au
Gas dryer venting affects combustion safety, lint control, and carbon monoxide risk. Get it wrong, and your dryer becomes dangerous. That’s why your gas fitter needs to handle this.
The vent route must follow the appliance manual. And that’s what your fitter will do. They’ll check duct diameter, max run length, bends, exit point, and hood clearance.
They’ll also make sure vent material and size match manufacturer specs. It’s typically metal ducting, around 100mm or 4 inches.
Short is best. Straight is better. That’s the fact when it comes to gas dryer installation. Every 90-degree elbow reduces vent length and traps lint. And you need to seal joints with metal foil tape.
You really need to step back here. Your gas fitter must handle every gas task—running the line, sizing the pipe, fitting the valve, connecting the dryer, and pressure testing.
But before the job, check their credentials on the Building and Plumbing Commission register at vba.vic.gov.au/find.
What will they do? Your gas fitter will find the nearest gas source and run new piping to the laundry if needed. Then, they size the pipe based on your home’s total gas load.
They’ll also check the route, valve position, and make sure the connection point is easy to reach. If it’s buried behind the dryer, that’s a bad install.
Once the gas and vent positions are clear, you can set the dryer in place. Plug it into the 230–240V / 10A GPO.
For most gas dryer installations, a standard power point is all you need. But if your outlet needed a heavy-duty circuit upgrade, your electrician should have handled that before installation day.
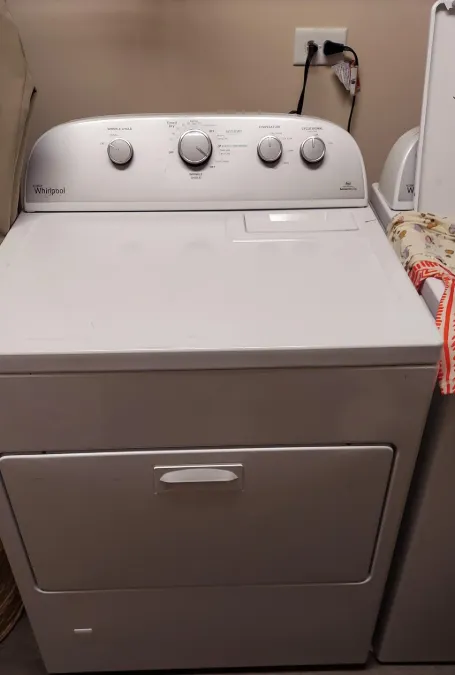
Image: Tonyc5983 on Reddit
Next, check the dryer with a spirit level. Place the level across the top from side to side, then front to back. If the dryer isn’t level, it can vibrate, wear the drum unevenly, and make more noise than it should.
Then you can push it back slowly, but watch the rear clearance as it moves.
The flexible gas connector and vent duct need space behind the appliance. Don’t crush, kink, stretch, twist, or bend them against the wall.
Don’t use the dryer yet. The licensed gas fitter has one more job: prove the installation is safe.
First, the fitter pressurises the new pipework and checks each joint with an approved leak detection method. If bubbles appear, the joint is leaking. The dryer stays off until the connection is fixed, retested, and gas-tight.
The fitter will also test the appliance at start-up. Ignition, burner operation, flame condition, gas pressure, and shut-off must meet manufacturer expectations.
That’s exactly the same thing as when you install a gas cooktop. But, there’s more to it.
The exhaust gets checked too. A final test runs the dryer briefly to confirm warm airflow at the external vent hood. This proves the duct is connected, the flap opens, and exhaust exits the house.
After installation, the licensed gas fitter issues a Compliance Certificate. Keep it with the manual, invoice, and warranty papers. Your insurer, property manager, or future buyer may request proof of proper gas work.
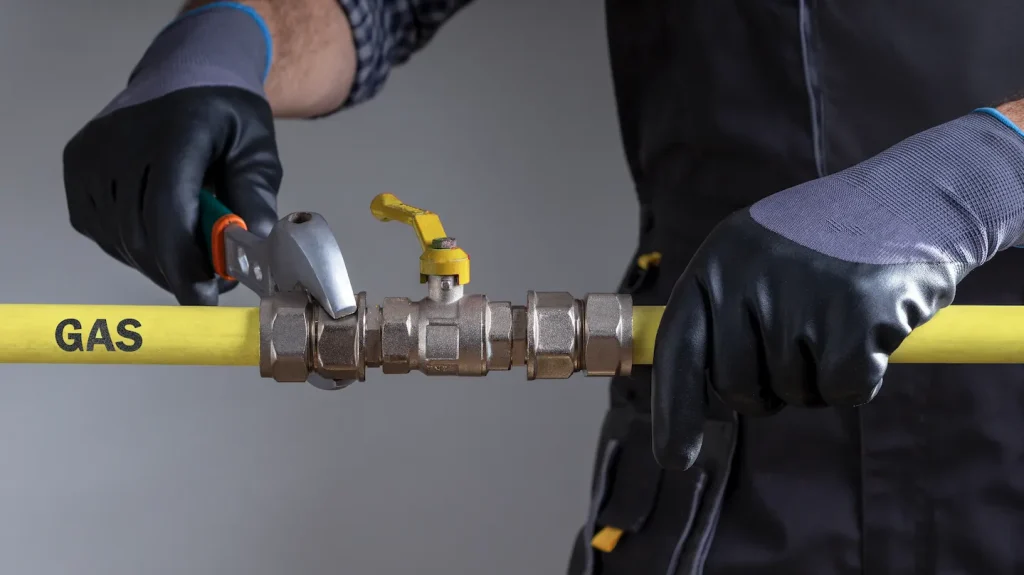
Image: sergeychuyko on Magnific
This is common in homes that previously ran all-electric in the laundry. That leaves you with two options:
For natural gas, check with your distributor first. It’s usually AusNet or Australian Gas Networks, depending on your suburb. They’ll confirm if gas mains pass your property and what a new connection involves.
Under Victoria’s gas transition rules, new gas connections now require full upfront payment. Fees vary by distributor.
AusNet charges $1,960 ex GST for a standard home connection; Australian Gas Networks (AGN) charges $2,157 ex GST.
Keep in mind, this is separate from the gas fitter’s labour and the pipework inside your home. That costs $525–$2,100 in Melbourne depending on distance, wall construction, and access.
If you think gas line installation isn’t practical, LPG can be the solution. But it needs outdoor cylinders, regulators, compliant clearances, and regular bottle swaps. Plus, the gas dryer must also be LPG-approved.
You need a licensed gas fitter for any work on a gas appliance connection or gas piping. That includes:
A general handyman can’t do this work. You can’t do it as a homeowner either.
Plus, you might also need a licensed electrician if the power outlet needs to be changed, moved, or repaired.
As a homeowner, you can handle basic preparation like unpacking the gas dryer or clearing clean access to the workspace. You must leave designing the exhaust layout or routing the flue path to a professional.
Even if your laundry already has a gas point, a licensed gas fitter still needs to make the final connection to the dryer.
The final cost depends on what your laundry already has.
If the gas point, vent route, and power outlet are ready, a standard installation is usually the simplest job.
| Item | Estimated Cost |
|---|---|
| Gas fitter labour and appliance connection | $200–$400 |
| Power outlet repair or relocation by electrician (only if unserviceable or near water) | $150–$250 |
| New gas dryer appliance | $900–$2,500+ |
This job takes 1–2 hours if you have easy access and don’t need extra internal pipework.
If your laundry doesn’t have gas, plan for more time and money.
| Item | Estimated Cost |
|---|---|
| New internal gas branch line to laundry | $300–$800 for simple, short runs |
| Complex or longer internal gas line work | $1,200–$5,000+ |
| First-time street-to-property network connection fee (AusNet) | $1,960 ex GST |
| First-time street-to-property network connection fee (AGN) | $2,157 ex GST |
| LPG cylinder, twin-stage regulator, and line setup | $200–$400+ |
Costs rise if the pipe goes through solid brick walls, under floors, over longer distances, or tight heritage access. Your meter size, regulator upgrades, and plaster patching also affect the final quote.
These figures are just a guide. You need an on-site assessment for a proper quote.
Here are some of the questions about installing a gas dryer:
No, you can’t connect a gas dryer yourself. In Victoria, it’s licensed work under the Gas Safety Regulations 2018. DIY is illegal, unsafe, and voids insurance.
You can unbox, position, and level it. But gas line, valve, connector hose, pressure testing, fuel conversion, and exhaust ducting must be done by a licensed gas fitter.
If you already have a compliant gas point, connection and safety testing take 1–2 hours. If new copper or multilayer pipework must be run from your meter, expect a half-day job.
Complex routing through brick walls, floorboards, multiple storeys, or heritage areas? That will extend the job.
For a standard home install, you don’t need a permit. Your gas fitter handles compliance and gives you a Compliance Certificate within five days. That’s your legal proof the work meets AS/NZS 5601.1:2022.
Only complex Type B installations need design approval from Energy Safe Victoria before gas is supplied.
Yes, if your gas dryer is certified for LPG. Some work with both natural gas and LPG, others don’t. Your gas fitter will check the data plate.
Don’t install a conversion kit yourself. It requires replacing injectors and adjusting pressure. Getting it wrong risks a dangerous carbon monoxide leak.
You can stack your gas dryer only if the model is approved and you use the certified stacking kit. The same clearances apply.
Your gas fitter will check if the wall isolation point, hose, and duct safely work at the higher height. Poor stacking can crush the exhaust duct, strain the gas line, or block clearance gaps..
Installing a gas dryer is straightforward when the laundry is ready. You can prepare the space, but gas connection or pressure test must be handled by a licensed gas fitter.
Most homes with an existing gas point can have a new dryer running within hours. Homes without a laundry gas point may need new pipework, distributor checks or LPG setup first.
Do you have a new gas dryer? Melbourne Gas Plumber can handle full installation, from gas line to appliance connection with a Compliance Certificate. Call before 10:30 AM for same-day service across Melbourne.

Every week, we share practical insights based on the combined knowledge and real-world experience of our team. Our articles cover gas fitting, gas safety, appliance installation, hot water systems, maintenance and everyday plumbing issues, so you can make well-informed decisions about your gas plumbing needs.


Fill the form below and we’ll get back ASAP!

MGP! Thank you for help, honest pricing and high quality work. Thank you to Joe for pricing and the boys involved for replacing my hot water tank and fixing my gas leak for a reasonable price. 5 star response, 5 star service and 5 star price.
Joe was great. Very professional and quick. Gas hot water heater needed replacing, he was honest and upfront about what our options were. System was sourced and replaced within a couple of hours.
Fantastic service very responsive Joe is highly recommended and works very clean and neat..... good job well done....very happy... will use again and again

At Melbourne Gas Plumber, we're here to handle all your gas plumbing needs throughout Melbourne. With over 40 years of experience, we bring extensive local knowledge and expertise to every job.
QUICK LINKS
OPENING HOURS
Open 24/7