
Upgrading your kitchen by deciding to install a gas cooktop can seriously change how you cook at home.
Gas cooktops are hugely popular in Australian homes and for a good reason. They offer incredibly accurate temperature control, instantly adjust when you turn the knobs, and are typically cheaper compared to electric cooktops.
However, to properly install a gas cooktop, you need careful planning to ensure your family’s safety and avoid compliance issues. Therefore, you need to have detailed attention and a solid understanding of Australian safety regulations.
One critical aspect to remember from the start: based on the Australian law, it is crystal clear that gas cooktop installation must always be done by a licensed gas fitter.
Hiring a licensed professional is about protecting your home and family from risks like gas leaks, fires, or even hefty fines for non-compliance.
If you’re planning to install a gas cooktop, you need careful preparation, strict compliance with safety regulations, and the right tools. By doing a thorough preparation, you can prevent unexpected issues and keep your cooktop working safely and reliably for years.
First, your kitchen needs to be thoroughly checked to ensure it’s ready for a gas cooktop installation. Let’s start with ventilation. Gas cooktops produce combustion gases that, without proper airflow, could build up dangerously in your kitchen.
Ideally, your kitchen should have powerful exhaust fans or a high-quality rangehood designed to handle gas appliances. If you don’t have both, you’ll want to improve your kitchen’s airflow by installing adequate ventilation or ensuring you have ample windows that provide consistent fresh air circulation.
Next up, you need to look at your kitchen’s gas line access. For your safety, Australian standards demand that every gas cooktop be connected to a dedicated and compliant gas line.
If your home doesn’t already have this, call a licensed gas fitter who can sort it out. They’ll ensure everything is up to code, safe, and ready for your new appliance.
Finally, clearance space around your cooktop is another important factor. There should be enough room between the cooktop surface, overhead cupboards, walls, and your rangehood.
After all, proper clearances reduce fire risks and make your cooking area safe and comfortable to use. Always double-check your appliance’s manual for the exact spacing recommendations before installation.
If you’re new to installing gas cooktops, Australian safety standards might feel a bit overwhelming, but they’re there to keep you safe. Specifically, gas installations in Australia must comply with the AS/NZS 5601.1:2022 Gas Installation Standard.
One of the most important requirements is that your gas cooktop must always be installed by a licensed gas fitter. Doing a DIY job on gas appliances is illegal because the potential dangers, like gas leaks and fires, are real and serious.
Another crucial regulation is making sure your cooktop is securely fastened. It prevents the appliance from moving or shifting around, which can lead to leaks or worse, a fire hazard.
Additionally, all materials around your gas cooktop, such as benchtops and splashbacks, need to be fire-resistant. These strict rules help prevent accidental fires in your kitchen.
Lastly, after your cooktop is installed, it’s compulsory to carry out gas leak testing. This step must be done by a licensed professional. Skipping this step could void your appliance warranty and land you in trouble legally.
Getting organised before installation day is a huge stress-saver. You’ll want all the right tools handy, ensuring the installation process goes off without a hitch.
Firstly, an adjustable wrench is crucial. It safely tightens the gas fittings just right so it won’t be too loose or overly tight.
Next up, make sure you have gas-rated thread sealant tape. This special tape creates airtight seals around gas connections, preventing leaks and keeping everything safe.
After installation, spraying connections with soapy water quickly reveals any leaks. You’ll see bubbles form if there’s a leak.
Finally, you’ll need basic tools like screwdrivers and maybe even a drill. These tools secure your cooktop firmly in place, ensuring it remains stable and meets safety compliance.
Installing your gas cooktop involves several careful steps. Let’s walk through each step in detail, keeping safety and compliance front and centre.
Good preparation makes everything easier. Start by turning off your home’s gas supply at the main shutoff valve. This is crucial because even minor leaks during installation can be dangerous.
If you’re unsure or struggle to find this valve, it’s best to immediately contact a gas cooktop installer near me rather than taking any risks.
If you’re replacing an existing cooktop, disconnect it carefully using your adjustable wrench. Remove the old cooktop gently, taking care not to damage surrounding surfaces.
After removal, inspect the countertop area, gas lines, and electrical connections carefully. Look for any signs of damage or wear. These issues should be resolved immediately to avoid future problems.
Once you’ve checked everything, give the installation area a thorough clean. Getting rid of grease, dust, and dirt ensures your new cooktop will sit flush, stable, and secure.
Carefully measure the new cooktop’s exact placement, ensuring it aligns perfectly with your gas and electrical connections.
If adjustments are needed, use precise cutting tools like a fine-tooth jigsaw blade for accuracy, preventing any unnecessary damage to your countertop.
Now that your site is ready, it’s time to actually install the gas cooktop. This part demands a careful touch. However, a licensed professional knows exactly how to handle it safely and properly, so you won’t need to do this by yourself.
First, gently lower your cooktop into the countertop cutout you’ve prepared. Take your time to ensure it fits perfectly.
Any small misalignment or gaps could mean trouble later on, including gas leaks or uneven cooking surfaces. Double-check visually and manually, making sure the cooktop sits comfortably flush against the countertop.
Next, your gas fitter will connect the gas hose securely to the cooktop’s regulator. They’ll wrap gas-rated thread sealant tape around the threads to create a strong, airtight seal.
Then, using an adjustable wrench, they’ll tighten connections carefully, not too loose and definitely not too tight, as overtightening can damage fittings.
Once the regulator is connected to the cooktop, the other end of the gas hose gets connected to your home’s main gas supply.
If your existing gas line is stiff or difficult to connect directly, your fitter will typically use a flexible gas connector.
Securing your gas cooktop properly is essential. This is not only to prevent it from shifting around while you’re cooking, but also to avoid safety hazards.
Your appliance usually comes with mounting clips or brackets provided by the manufacturer. Your licensed gas fitter will attach these securely according to the instructions, ensuring your cooktop remains stable no matter how actively you cook.
After the cooktop is secured, it’s crucial to check that it’s perfectly level using a spirit level. A level cooktop means even heating, better cooking performance, and fewer spills or accidents.
If your fitter finds any unevenness, you need to make slight adjustments using shims or spacers underneath the cooktop. Therefore, making sure that it sits evenly before finalising the installation is really important.
Testing is perhaps the most important step after you install a gas cooktop. Once everything is connected and secured, your fitter will slowly turn your gas supply back on.
You need to carefully listen for any subtle sounds indicating leaks, which could be hazardous if not identified early.
Next up, you need to spray a solution of soapy water onto all gas connections, such as hoses, regulators, and valves. Watch closely for bubbles forming, which would indicate a leak.
If any bubbles appear, they’ll immediately shut off the gas supply, tighten fittings securely, and retest. Persistent leaks would require further attention and possibly replacing components, something your gas fitter will handle professionally.
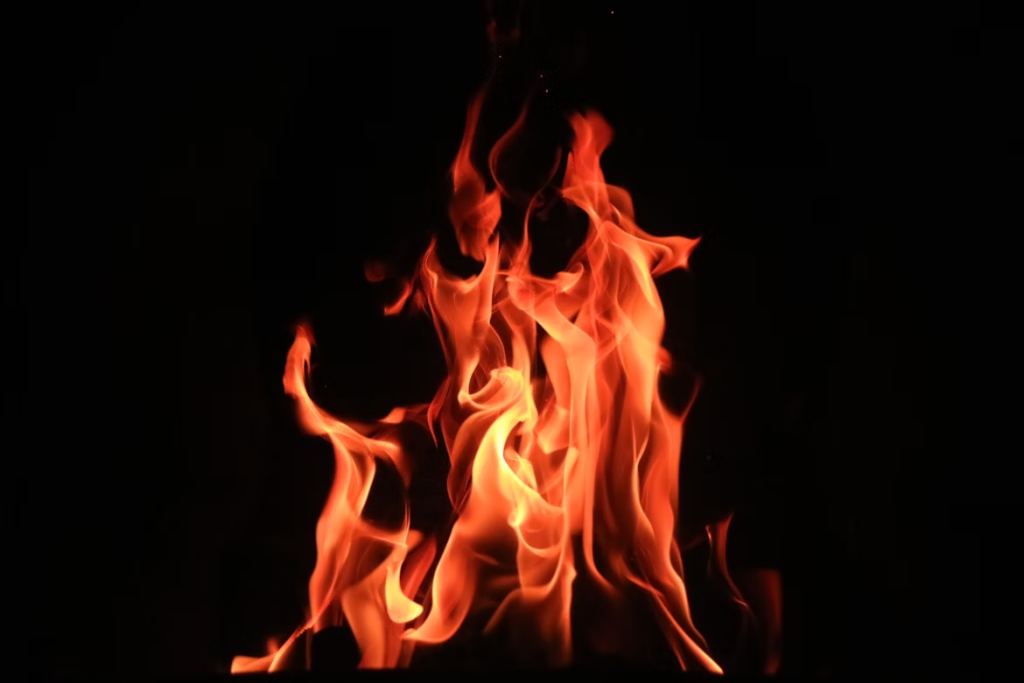
Once your cooktop passes the leak test, each burner gets individually tested. Burners should ignite easily, producing a steady blue flame. That’s a good sign for proper combustion.
If flames appear yellow or orange, this signals incomplete combustion, meaning adjustments are necessary to ensure safety and efficiency.
Finally, your gas fitter will thoroughly check each knob and burner control for smooth, reliable operation. It’s also recommended to have safety equipment, like a fire extinguisher, nearby as an extra precaution.
For total peace of mind, you might consider scheduling a follow-up professional inspection sometime soon after the initial installation.
Your new cooktop’s performance and longevity depend significantly on how well you maintain it. Here’s some friendly, practical advice to help you care for your cooktop long-term.
Keeping your cooktop clean weekly might sound basic, but it’s highly important. Food debris, grease, or dust can build up quickly, clogging burner ports and affecting how your cooktop performs.
Cleaning is simple: remove burner caps, gently scrub or use a soft brush or needle to clear blockages, and periodically give everything a thorough soak in warm soapy water.
Just make sure everything’s totally dry before putting it back together, so your burners ignite easily.
You’ll also want to perform a quick monthly gas leak check yourself. Simply spray the soapy water solution around gas connections and watch for bubbles. Catching leaks early makes fixing them quicker, cheaper, and safer.
And don’t forget about the annual check-up. Having your cooktop inspected once a year by a licensed gas fitter is essential. Professionals can spot issues you might miss, ensuring your cooktop stays compliant and safe long-term.
Even the best-maintained cooktop might occasionally have hiccups. Here’s how you can handle some common issues:
Gas cooktop installation in Australia typically costs between $30 to $50 per hour, depending on your area. Hiring a licensed fitter ensures the job is done safely and professionally, reducing any risk of hazards.
Here’s a more detailed breakdown of gas installation costs across main cities in Australia:
| City | Average Cost/Hour |
| Sydney | $30 – $40 |
| Adelaide | $30 – 50 |
| Melbourne | $30 – $40 |
| Brisbane | $25 – $45 |
| Canberra | $30 – $50 |
| Perth | $30 – $40 |
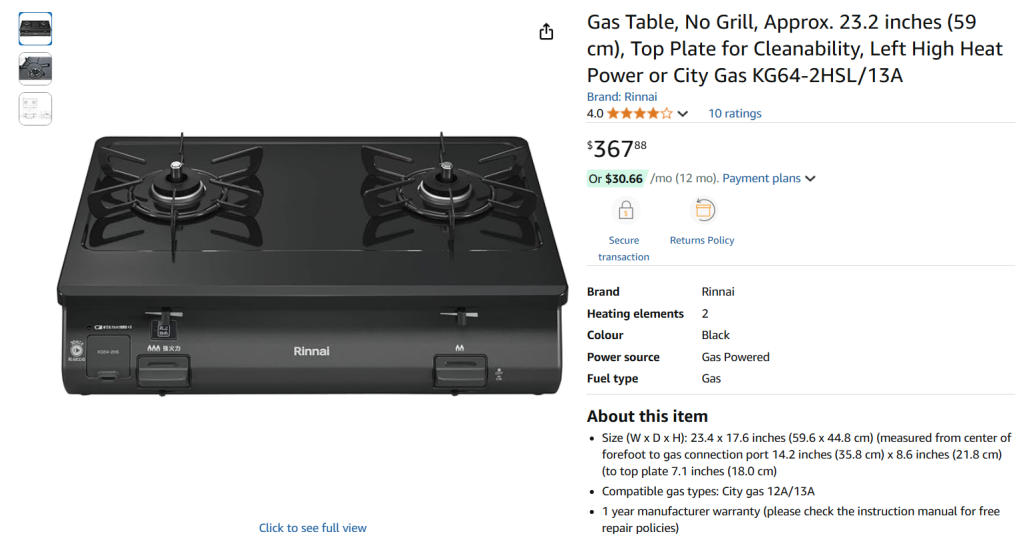
Additionally, you might need to purchase the gas cooktop itself. Brands like Rinnai and Tefal charge anywhere between $250 to well over $500 for a gas table. The cost depends on the specifications you’re looking for. Additional features like the number of burners, materials, and ignition type can affect the pricing.
One tip is to consult your gas fitter professional if they provide services that include the gas cooktop itself. Some licensed professionals have partnerships with these brands, so you might get a discount.
More importantly, check whether the gas fitter is qualified or not to install a gas line, especially if your property doesn’t already have one. Confirm if they’re going to bring the necessary equipment for the job.
A gas line typically costs $25 – $100, depending on the pipe material, length, and the pressure rating required for the installation. The procedure itself generally falls under $120 to $1,000. The complexity of the job as well as the distance from the gas course to the appliance will affect the final billing.
Sometimes you need professional help, no matter how handy you might be. You definitely should call experienced gas cooktop installers in Melbourne if:
Professional installers, such as Melbourne Gas Plumber, ensure everything is compliant, safe, and worry-free.
Choosing to install a gas cooktop is an exciting upgrade for your kitchen. You get unbeatable temperature control, energy efficiency, and a real cooking upgrade.
But remember, proper installation and regular maintenance are essential to enjoy these benefits safely.
Always rely on professionals like Melbourne Gas Plumber for your installation and servicing.
We’ll ensure your new cooktop meets all safety and legal requirements, giving you peace of mind alongside your new cooking experiences.
Ready to get your kitchen upgraded safely and smoothly?
Don’t hesitate to contact Melbourne Gas Plumber today and enjoy cooking safely for years to come!


Fill the form below and we’ll get back ASAP!

MGP! Thank you for help, honest pricing and high quality work. Thank you to Joe for pricing and the boys involved for replacing my hot water tank and fixing my gas leak for a reasonable price. 5 star response, 5 star service and 5 star price.
Joe was great. Very professional and quick. Gas hot water heater needed replacing, he was honest and upfront about what our options were. System was sourced and replaced within a couple of hours.
Fantastic service very responsive Joe is highly recommended and works very clean and neat..... good job well done....very happy... will use again and again
At Melbourne Gas Plumber, we're here to handle all your gas plumbing needs throughout Melbourne. With over 40 years of experience, we bring extensive local knowledge and expertise to every job.
QUICK LINKS
OPENING HOURS
Open 24/7
