
When it comes to gas line installation, any mistakes can lead to safety issues and costly fixes. So, it’s important to do it right from the start.
The challenge is, permits and procedures for gas pipe installation might vary by location. This often leaves many homeowners unsure of where to start or which new gas installation service to trust.
But don’t stress. This post breaks down everything step-by-step, from permits and inspections to choosing the right pipes. Let’s get started!
Here is a list of things you need to prepare for gas pipe installation:
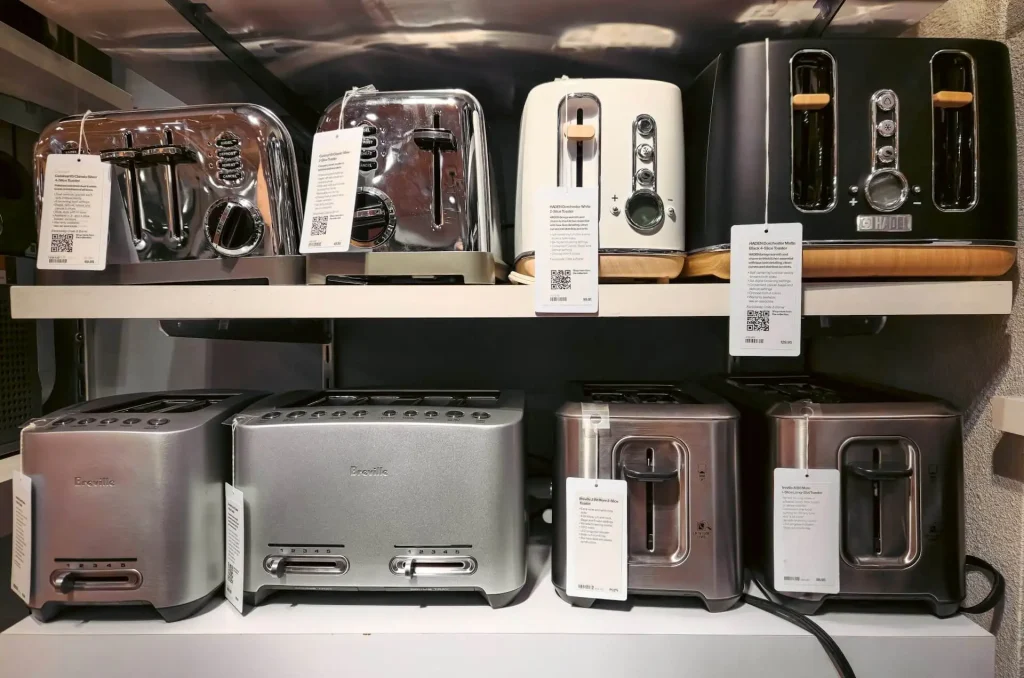
Before starting gas line installation, it’s helpful to understand the various gas pipe materials available:
Steel gas pipes start as iron ore and become carbon or stainless steel. They are coated with zinc or plastic to prevent rust. These pipes must meet ASTM A53 and API 5L standards.
Their ends connect easily, but their weight requires tools such as rollers, hoists, and wrenches for gas line installation. Proper handling is vital to ensure safety and prevent leaks.
Pros:
Cons:
Copper tubing is produced from mined copper, which is smelted and cast into billets that are then drawn into seamless tubes.
Copper is a popular choice for indoor plumbing because it’s reliable and conducts heat quickly. Most building codes allow above-ground copper gas pipes in basements.
Pros:
Cons:
Yellow brass is a mix of about 63% copper and 37% zinc, shaped into tubes for gas pipe installation. It’s stronger than pure copper and doesn’t corrode easily when touching other metals.
Brass pipes follow standards like ANSI B16.15 for pressure and approved gas fittings. Although heavier than copper, brass doesn’t require trenching like steel and doesn’t need underground coatings.
Pros:
Cons:
PE gas pipes, which meet ASTM D2513 or ISO 4437 standards, come in flexible rolls. They bend with the ground, resist vibrations, and withstand soil chemicals.
This gas line installation material can withstand freezing and thawing. This prevents pipe breakage in cold weather. It is a sensible, cost-effective option for rural and suburban gas line installation.
Pros:
Cons:
CSST is a bendable, wavy stainless-steel tube covered in plastic. It can easily go through walls and ceilings, meaning you need fewer connections than with rigid pipes.
This material must be connected to the building’s grounding system to handle lightning or electrical faults. It’s a good choice for older buildings. Its flexibility simplifies installation and speeds up the process.
Pros:
Cons:
Flexible connectors are bendy stainless steel or brass hoses (12–60 inches) that link appliances to gas pipes. They absorb small movements such as vibrations or levelling, preventing stress on rigid pipes.
Made under UL 567 or CSA 6.10 standards, they pass burst and pressure tests. They easily connect water heaters, furnaces, and dryers, simplifying gas appliance connections.
Pros:
Cons:
After choosing your gas pipe materials it’s time to understand the gas line installation process:
Before gas pipe installation, decide where your appliances, such as the furnace, stove, and water heater, will go. Plan the shortest, straightest route from the meter to each.
Keep pipes clear of electrical wires, water lines, and sharp bends to prevent damage. If the meter is outside and the water heater is in the basement, run the line along ceiling joists or walls.
Collect all the materials you need for your home’s gas system. Choose the right pipe materials, like black steel for inside and plastic for underground. Also, check if they meet safety standards.
Remember that you should use only certified fittings, connectors, shut-off valves, and supports. Make sure they are the right size for your appliances’ total BTU to avoid pressure problems.
It’s time to start a more technical gas line installation. Begin by clearing the path of any obstacles, such as boxes, tools, or debris from hallways and basements.
Then, perform a professional inspection for hazards such as moisture, rusty nails, or chemical residues that could damage the pipes later. Remember to check for signs of gas leak symptoms, too.
If your gas line runs underground, you need to dig a trench that follows local standards. It is usually 18 to 24 inches deep. The trench should have a flat, rock-free bottom to prevent puncturing the pipe.
After that, you need to put a layer of sand in the trench to keep the gas pipe installation safe. You’ll dig a trench from your outdoor gas meter to the basement wall.
The next step is to measure and cut the gas pipe exactly where you planned. Use special tools to cut the pipe so the ends are flat and clean. You can smooth out any rough edges with a reaming tool.
Then, screw the pipe ends together. Put sealant or tape on the threads to stop leaks. Connect the pipe pieces to the connectors. Make sure they fit tightly before you tighten them with a wrench.
Securing pipes is the next important step in installing gas in your home. You need to do this to keep them safe from accidental hits or bumps that could knock them out of place.
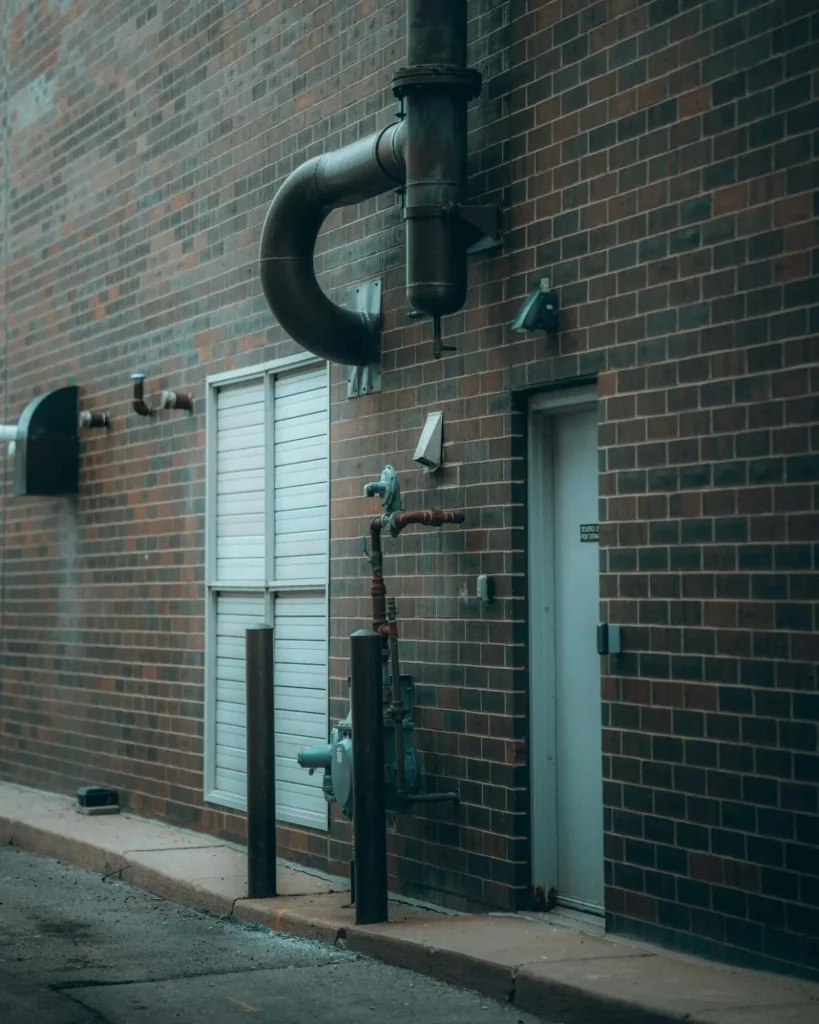
Gas pipes above ground are attached to buildings with special metal holders such as straps, hangers, or staples. For pipes running horizontally, these holders are usually placed every 6 to 8 feet.
Following pressure testing procedures, your licensed gas fitter will maintain this pressure for 10-15 minutes to check for leaks or any gas smells.
If the pressure drops, gas leak detection will be used to locate and repair the leak. The system will be retested until the gas pressure and flow rate remains stable.
Use only approved flexible hoses or hard pipes to connect gas appliances safely. Before using, check all connections for leaks with soap bubbles or leak detectors.
Flexible hoses help absorb small movements and vibrations, preventing stress on fittings and reducing the risk of cracks or leaks. Remember to use only approved materials and proper installation methods.
This is an important part of gas line installation. A licensed gas inspector ensures that the materials, procedures, and connections are safe. They will also check permits, inspection reports, and test results.
The inspector walks along the gas line, measures distances, tests the valves and shut-offs. If everything is safe, he will give approval.
Here are maintenance tips to enhance your gas line safety:
Here are common questions about gas line installation:
Gas line installation costs AUD 1,200 to AUD 5,000, depending on outlets, pipework, wall type, and accessibility. Extra expenses may include permits, inspections, materials, and appliances.
Yes, you can usually run a gas line to your home if connected to the network. A licensed gas fitter must handle the work, obtain permits, and coordinate with the utility for the meter. You’ll need to plan the pipe route, choose suitable materials, and follow safety rules.
Gas pipes in non-traffic areas should be buried at least 300 mm deep. Under driveways or roads, they require 450-600 mm for protection.
Gas line installation time varies. Simple residential jobs take 1-2 days, while larger or complex projects may need 3-5 days or more. Factors like trenching, multiple outlets, permits, and inspections can extend the timeline.
Residential gas pipes usually last about 50 years. Steel pipes can last 50-80 years with proper maintenance, while polyethylene pipes last around 50 years. It really depends on factors like corrosion, soil, damage, and pressure.
Gas line installation requires more than DIY skills. It needs expertise in proper materials, and gas safety tips. This article explained the important steps to set it up safely and correctly.
Remember, hiring a trusted professional can ensure your natural gas installation follows local codes and protects your property and family.
So, don’t risk your safety. Choose expert service for reliable, long-lasting results. Contact Melbourne Gas Plumber today to schedule your gas service line installation!


Fill the form below and we’ll get back ASAP!

MGP! Thank you for help, honest pricing and high quality work. Thank you to Joe for pricing and the boys involved for replacing my hot water tank and fixing my gas leak for a reasonable price. 5 star response, 5 star service and 5 star price.
Joe was great. Very professional and quick. Gas hot water heater needed replacing, he was honest and upfront about what our options were. System was sourced and replaced within a couple of hours.
Fantastic service very responsive Joe is highly recommended and works very clean and neat..... good job well done....very happy... will use again and again
At Melbourne Gas Plumber, we're here to handle all your gas plumbing needs throughout Melbourne. With over 40 years of experience, we bring extensive local knowledge and expertise to every job.
QUICK LINKS
OPENING HOURS
Open 24/7
