
When your gas bills go up and your appliances don’t work as they should, gas regulator adjustment might seem like the fix.
But do you know how to adjust a gas regulator safely? And are you sure you can handle it without calling in a gas technician?
Before you try anything, check out this article first. We’ll cover why it matters, how to do it right, and when to call in a professiona gas plumberl. Keep reading!
Before we talk about how to adjust a gas regulator, it’s important to know why you might need to do it:
A gas regulator acts like a car’s throttle. If it lets in too much gas, your appliances might run nonstop and overheat. This can damage the parts and might lead to an explosion.
But if the pressure is too low, the burners don’t get enough gas. This can even lead to dangerous carbon monoxide buildup.
Gas regulator adjustment makes sure each appliance gets what it’s designed for. It ensures each one gets the right amount of gas.
If your stove doesn’t get the right pressure, the flames might be weak, and it takes forever to boil water. Or they could be way too strong and burn your food.
Have you ever turned on a burner and seen a small flame? Or waited a long time for a heater to warm a room that used to heat up quickly?

You might think there’s something wrong with the parts or wires. But often, the real cause is that the gas pressure feeding the appliance is too low.
A gas regulator adjustment can help your home appliances work better and save you money on bills.
If the pressure is too low, your furnace has to work extra hard to heat your home. This uses more gas, which costs more money.
But too much pressure is also not good. It might seem like your appliances are doing a great job, but some of the gas doesn’t burn completely and just escapes.
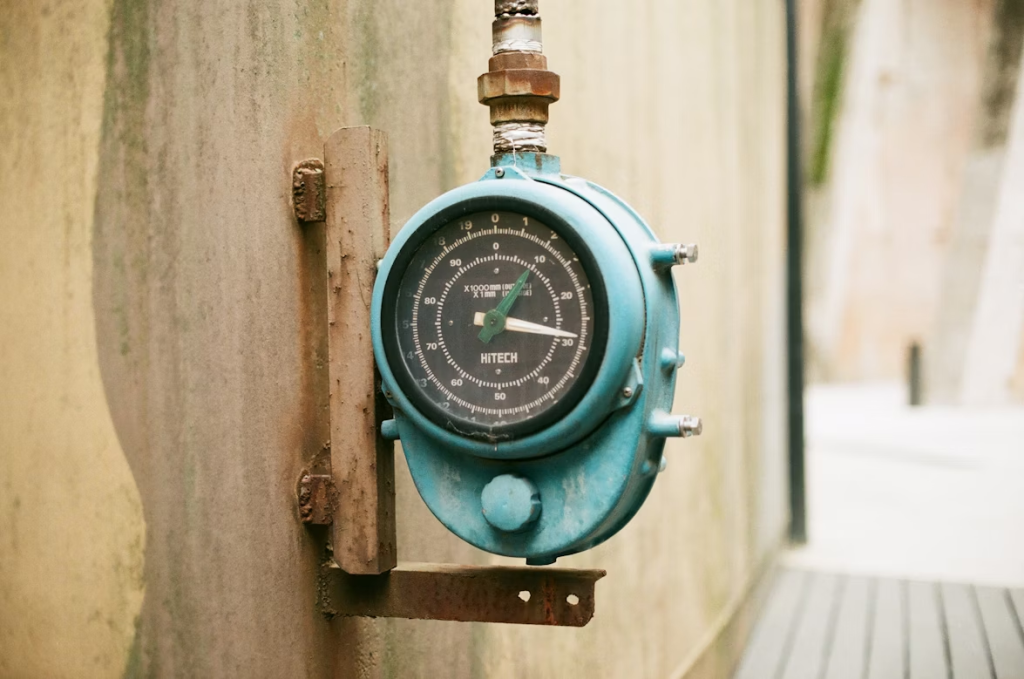
Gas appliances need a specific pressure called manifold pressure. When it comes to a furnace or new gas installation, check and adjust the regulator.
The street-side regulator keeps pressure between 5 and 7 inches. But it doesn’t control the pressure at the furnace. You need to adjust the furnace’s built-in regulator to match the specs on the label.
Here are the steps to adjust the gas regulator if you have a good reason to do it:
The first step is always to decide if you can do it safely or if you should call a professional. Gas systems are complicated and can be dangerous.
You might need an adjustment if you see uneven flames, appliances not working right, or strange pressure readings. But be careful. Fixing it yourself without the right skills and tools can be risky.
Before you adjust your gas regulator, make sure you have the right tools. What are they?
Also, your workspace should have good ventilation to get rid of gas fumes. Make sure there are no open flames, pilot lights, or sparks from electrical devices.
By preparing your tools and workspace, you set the stage for a safe and effective gas regulator adjustment.
This is important when it comes to gas regulator adjustment: make sure to turn off the gas supply first. Find the main shut-off valve connected to your outdoor gas meter. It’s usually a lever or wheel.
Turn it a quarter turn clockwise until it’s perpendicular to the pipe. That means the gas is off. Then, double-check that all gas appliances and pilot lights are off before you move forward.
After turning off the gas supply, the next step is to connect your manometer to check the gas pressure in the system.
First, find the test port on your gas piping. It’s usually a small opening with a cap. You can find it near the gas regulator, the gas valve on the appliance, or on a test tee close to the appliance.
Next, remove the cap or plug from the test port. Then, connect the hose from your calibrated manometer to the test port. Make sure it is tight so there are no leaks.
To make sure there are no leaks, you need to do a basic leak test when adjusting a gas regulator. Don’t guess or assume.
How to do it? Put some soapy water or a special leak detection spray around where the manometer hose connects to the gas line’s test port. Then, slowly open the main gas shut-off valve for a short time. This will let a little gas into the line.
Right after, close the valve again. Watch the connection closely. If you see bubbles in the soapy water, it means there is a gas leak. You need to fix it before moving on.
After you finish the first leak test at the connection point, reconnect the gas supply to the system. Turn the main gas shut-off valve slowly and carefully counter-clockwise to open it completely.
As gas fills the pipes, watch the manometer. Wait for the pressure to stop changing. Then, write down the first number you see. This shows the gas pressure going to your appliances before you change anything.
Before you adjust the gas regulator, you need to know the right pressure. Different appliances need different gas pressures.
Look in the appliance manual or on its data plate. The pressure is usually shown in Inches of Water Column (in.W.C.).
Most home natural gas appliances use about 3.5 inches of water column, while propane appliances need about 10-11 inches. Don’t guess it. The wrong pressure can break your appliances.
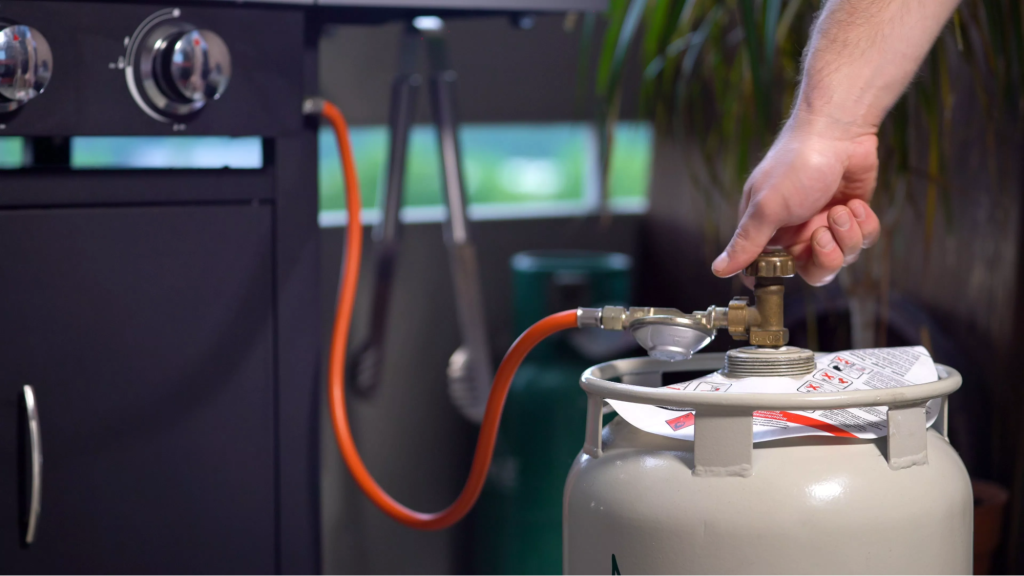
Once you know the target pressure, you can then do the gas regulator adjustment. You can try to look for the adjustment screw. It’s usually on the top or side of the regulator.
If there is a cap over the screw, remove it. Use the right screwdriver to do this. It could be a flathead or a Phillips-head.
Keep in mind that you need to watch the pressure with your manometer as you make changes. Turn the screw a little at a time.
After each turn, wait and check the pressure again. Don’t rush. Big turns can cause quick pressure changes, and this is dangerous.
You have adjusted the gas regulator, but there’s more to do. Make sure you turn off the gas again. This keeps you safe when you remove the manometer and check for leaks.
What should you do? Go back to the main gas shut-off valve. Turn it clockwise until it is fully closed. Don’t disconnect tools or seal the connections until you are sure the gas has stopped flowing.
After turning off the gas supply, carefully disconnect the manometer from the test port on the gas line. Then, quickly put the original cap or plug back on the test port to stop any leaks.
Next, check all the connections for leaks. This includes the sealed test port, the adjustment screw on the gas regulator, and any fittings that were loosened or tightened.
If you perform the LPG gas regulator adjustment, check its settings. Make sure the gas flows correctly for your appliance.
Here are some tips for adjusting your gas regulator:
Also Read: 5 Gas Stove Maintenance and Safety Tips
You have learned that gas regulator adjustment can help with more than just high energy bills and appliance problems. There are other good reasons to do it. But only if you do it the right way.
As we discussed, this isn’t something you should try without the right knowledge and tools. Even small adjustments can pose serious risks. That’s why it’s best to call a qualified gas technician.
We hope this information helps. Don’t risk your safety. Contact a professional today if you have issues with your gas system.

Fill the form below and we’ll get back ASAP!

MGP! Thank you for help, honest pricing and high quality work. Thank you to Joe for pricing and the boys involved for replacing my hot water tank and fixing my gas leak for a reasonable price. 5 star response, 5 star service and 5 star price.
Joe was great. Very professional and quick. Gas hot water heater needed replacing, he was honest and upfront about what our options were. System was sourced and replaced within a couple of hours.
Fantastic service very responsive Joe is highly recommended and works very clean and neat..... good job well done....very happy... will use again and again
At Melbourne Gas Plumber, we're here to handle all your gas plumbing needs throughout Melbourne. With over 40 years of experience, we bring extensive local knowledge and expertise to every job.
QUICK LINKS
OPENING HOURS
Open 24/7
